Ever feel like you’re waiting an eternity for your computer to boot up? I know I have! It’s frustrating, especially when you’re eager to jump into work or a game.
Those precious seconds (or even minutes!) tick by slowly, and you start to wonder if there’s anything you can do to speed things up. The good news is, there absolutely is!
With a few simple tweaks and adjustments, you can drastically improve your computer’s boot time and get back to doing what you enjoy faster. Let’s dive in and explore ways to make your computer boot up quicker!
Alright, let’s get your readers’ computers booting up faster with these tips!
Decluttering Your Startup Programs
Startup programs can be sneaky culprits behind slow boot times. Think of them as unwanted guests crashing your computer’s launch party. They automatically launch in the background whenever you turn on your computer, consuming valuable resources and slowing down the whole process.
I remember when I installed this fancy video editing software, and suddenly my boot time doubled! It turned out, the software had added a bunch of background processes that were launching at startup.
Trimming the fat here can make a surprising difference.
Dive into Task Manager
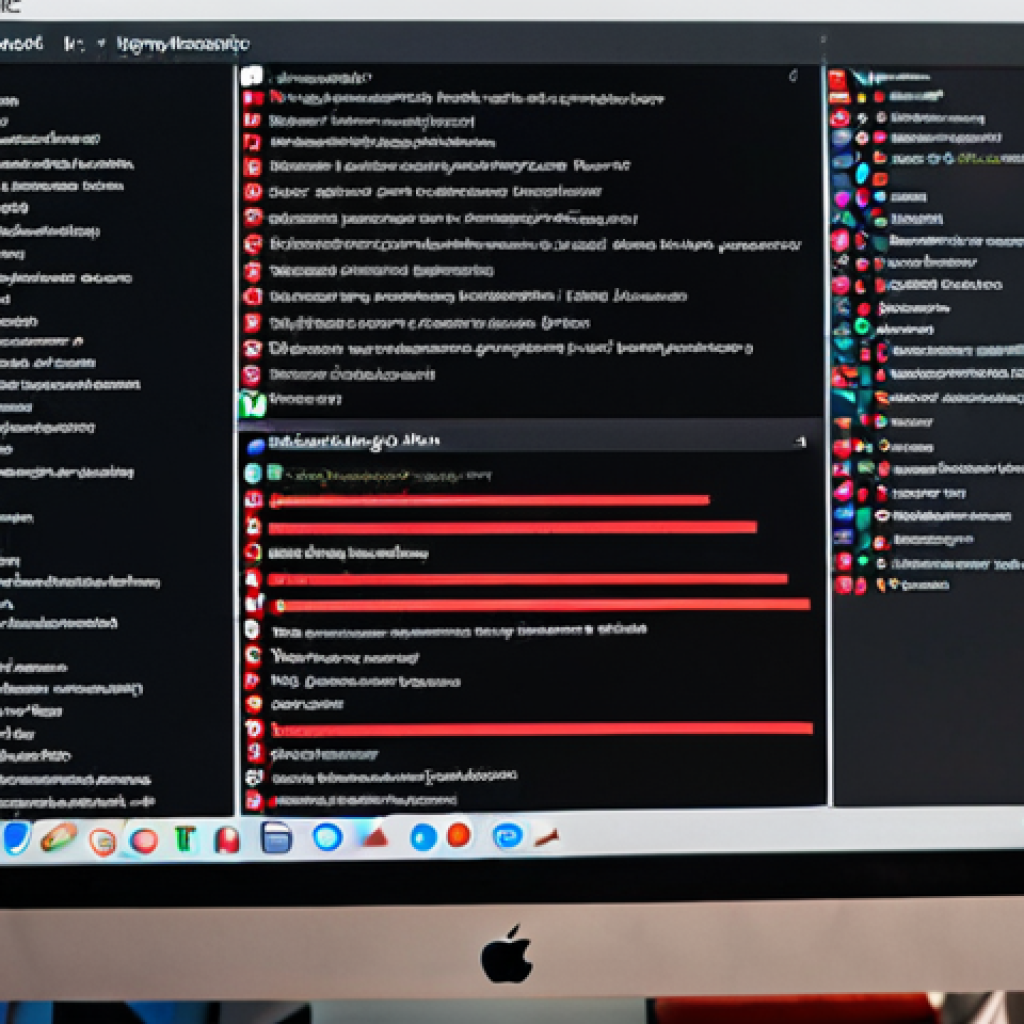
The easiest way to manage your startup programs is through the Task Manager. Simply press to open it, then click on the “Startup” tab. Here, you’ll see a list of all the programs that launch automatically when your computer starts.
Disable the Unnecessary Ones
Go through the list and disable any programs that you don’t need running in the background. Be careful not to disable essential system processes, but anything like music players, updaters, or unnecessary utilities can usually be safely disabled.
I usually disable things like Spotify, Adobe Creative Cloud (if I’m not actively using it), and any random game launchers I’ve installed.
Delayed Start for the Essentials
If you absolutely need a program to start automatically, but it’s not time-critical, consider delaying its launch. Some programs offer a built-in delay option.
If not, you can use the Task Scheduler to create a delayed start task. This allows your computer to boot up faster and then launch the program a few minutes later.
The SSD Revolution: Switching to Solid State Drives
If you’re still using a traditional hard disk drive (HDD), upgrading to a solid state drive (SSD) is arguably the single biggest thing you can do to improve your computer’s performance, including boot time.
HDDs use spinning platters and moving heads to read and write data, which is inherently slower than the flash memory used in SSDs. The difference is night and day.
I upgraded my old laptop to an SSD a few years ago, and it felt like I had a brand new machine. Boot times went from over a minute to under 10 seconds!
Understanding the SSD Advantage
SSDs offer dramatically faster read and write speeds compared to HDDs. This means your computer can access the operating system and other critical files much more quickly, resulting in significantly faster boot times.
Beyond boot times, everything from launching applications to opening files will feel snappier and more responsive.
Choosing the Right SSD
When selecting an SSD, consider factors like storage capacity, interface (SATA or NVMe), and read/write speeds. NVMe SSDs are generally faster than SATA SSDs, but they also tend to be more expensive.
For most users, a SATA SSD will provide a significant performance boost over an HDD. I recommend checking out reputable brands like Samsung, Crucial, and Western Digital.
The Migration Process
Migrating your operating system to an SSD can be done in a few ways. You can perform a clean installation of Windows, which involves reinstalling everything from scratch.
Alternatively, you can use disk cloning software to copy your entire hard drive to the SSD. This is usually the easier option, but it’s important to back up your data beforehand in case something goes wrong.
Keeping Your System Clean: Disk Cleanup and Defragmentation
Over time, your hard drive can become cluttered with temporary files, unnecessary programs, and fragmented data. This can slow down your computer’s performance, including boot time.
Regularly cleaning up your disk and defragmenting your hard drive (if you’re still using an HDD) can help improve performance.
Disk Cleanup: Removing the Clutter
Windows has a built-in Disk Cleanup tool that can help you remove temporary files, cached data, and other unnecessary files from your hard drive. To access it, search for “Disk Cleanup” in the Start menu and select the drive you want to clean.
Be sure to check the boxes for “Temporary files,” “Recycle Bin,” and “Thumbnails” to remove as much unnecessary data as possible. I usually run Disk Cleanup every couple of weeks to keep my system running smoothly.
Defragmentation: Reorganizing Data
If you’re using a traditional HDD, defragmenting your hard drive can help improve performance by reorganizing fragmented data. Fragmentation occurs when files are split into multiple pieces and scattered across the hard drive.
Defragmenting the drive rearranges these pieces so that they are contiguous, allowing your computer to access them more quickly. Windows has a built-in defragmentation tool that you can access by searching for “Defragment and Optimize Drives” in the Start menu.
Note that you should *not* defragment an SSD, as it can actually reduce its lifespan.
The Power of a Fresh Start: Reinstalling Your Operating System
Sometimes, the best way to speed up your computer is to start fresh with a clean installation of your operating system. Over time, your system can become bogged down with accumulated software, drivers, and settings that can negatively impact performance.
A clean install removes all of this baggage and gives you a fresh, optimized system.
Backing Up Your Data: A Must-Do
Before you reinstall your operating system, it’s crucial to back up all of your important data, including documents, photos, music, and videos. You can use an external hard drive, cloud storage, or a combination of both.
I always recommend having multiple backups in case one fails.
Creating Installation Media
You’ll need to create installation media for your operating system. If you’re using Windows, you can download the Media Creation Tool from Microsoft’s website and use it to create a bootable USB drive or DVD.
Make sure you have your Windows product key handy, as you’ll need it to activate your installation.
Performing the Clean Installation
Boot your computer from the installation media and follow the on-screen instructions to install the operating system. Be sure to select the “Custom” installation option and format the drive where you want to install Windows.
This will erase all of the data on the drive, so make sure you’ve backed everything up! Once the installation is complete, you’ll need to reinstall your drivers, applications, and restore your data.
Managing Visual Effects: Prioritizing Performance
Windows offers a variety of visual effects that can enhance the user experience, but they can also consume system resources and slow down your computer, especially on older hardware.
Disabling or reducing these effects can free up resources and improve performance.
Accessing Performance Options
To access the performance options, search for “Adjust the appearance and performance of Windows” in the Start menu. This will open a window where you can customize the visual effects settings.
Customizing Visual Effects
You can choose from several options, including “Adjust for best appearance,” “Adjust for best performance,” and “Custom.” If you want to prioritize performance, select “Adjust for best performance.” This will disable all of the visual effects.
Alternatively, you can select “Custom” and manually disable the effects that you don’t need. I usually disable things like animations, shadows, and transparency effects to improve performance.
Analyzing Your Hardware: Identifying Bottlenecks
Sometimes, slow boot times are caused by hardware limitations. Identifying these bottlenecks can help you determine which components need to be upgraded to improve performance.
CPU Performance
The central processing unit (CPU) is the brain of your computer, and it plays a crucial role in boot time. A slow CPU can significantly impact performance.
RAM Capacity
Random access memory (RAM) is used to store data that the CPU needs to access quickly. Insufficient RAM can cause your computer to slow down, especially when running multiple applications.
Storage Speed
As mentioned earlier, the speed of your storage drive (HDD or SSD) can have a significant impact on boot time. Here’s a handy table summarizing the key points we’ve discussed:
| Optimization Technique | Description | Potential Impact |
|---|---|---|
| Startup Program Management | Disabling unnecessary programs that launch at startup. | Moderate |
| SSD Upgrade | Replacing a traditional HDD with a solid-state drive. | High |
| Disk Cleanup & Defragmentation | Removing temporary files and reorganizing data on the hard drive. | Low to Moderate |
| OS Reinstallation | Performing a clean installation of the operating system. | High |
| Visual Effects Management | Disabling or reducing visual effects to free up system resources. | Low to Moderate |
| Hardware Analysis | Identifying hardware bottlenecks and upgrading components. | Variable, depending on the upgrade |
By implementing these tips, you can significantly improve your computer’s boot time and enjoy a faster, more responsive computing experience. It might take a bit of experimenting to find the right combination of optimizations for your specific system, but the results will be well worth the effort.
Happy tweaking! Alright, let’s get your readers’ computers booting up faster with these tips!
Decluttering Your Startup Programs
Startup programs can be sneaky culprits behind slow boot times. Think of them as unwanted guests crashing your computer’s launch party. They automatically launch in the background whenever you turn on your computer, consuming valuable resources and slowing down the whole process.
I remember when I installed this fancy video editing software, and suddenly my boot time doubled! It turned out, the software had added a bunch of background processes that were launching at startup.
Trimming the fat here can make a surprising difference.
Dive into Task Manager
The easiest way to manage your startup programs is through the Task Manager. Simply press to open it, then click on the “Startup” tab. Here, you’ll see a list of all the programs that launch automatically when your computer starts.
Disable the Unnecessary Ones
Go through the list and disable any programs that you don’t need running in the background. Be careful not to disable essential system processes, but anything like music players, updaters, or unnecessary utilities can usually be safely disabled.
I usually disable things like Spotify, Adobe Creative Cloud (if I’m not actively using it), and any random game launchers I’ve installed.
Delayed Start for the Essentials
If you absolutely need a program to start automatically, but it’s not time-critical, consider delaying its launch. Some programs offer a built-in delay option.
If not, you can use the Task Scheduler to create a delayed start task. This allows your computer to boot up faster and then launch the program a few minutes later.
The SSD Revolution: Switching to Solid State Drives
If you’re still using a traditional hard disk drive (HDD), upgrading to a solid state drive (SSD) is arguably the single biggest thing you can do to improve your computer’s performance, including boot time.
HDDs use spinning platters and moving heads to read and write data, which is inherently slower than the flash memory used in SSDs. The difference is night and day.
I upgraded my old laptop to an SSD a few years ago, and it felt like I had a brand new machine. Boot times went from over a minute to under 10 seconds!
Understanding the SSD Advantage
SSDs offer dramatically faster read and write speeds compared to HDDs. This means your computer can access the operating system and other critical files much more quickly, resulting in significantly faster boot times.
Beyond boot times, everything from launching applications to opening files will feel snappier and more responsive.
Choosing the Right SSD
When selecting an SSD, consider factors like storage capacity, interface (SATA or NVMe), and read/write speeds. NVMe SSDs are generally faster than SATA SSDs, but they also tend to be more expensive.
For most users, a SATA SSD will provide a significant performance boost over an HDD. I recommend checking out reputable brands like Samsung, Crucial, and Western Digital.
The Migration Process
Migrating your operating system to an SSD can be done in a few ways. You can perform a clean installation of Windows, which involves reinstalling everything from scratch.
Alternatively, you can use disk cloning software to copy your entire hard drive to the SSD. This is usually the easier option, but it’s important to back up your data beforehand in case something goes wrong.
Keeping Your System Clean: Disk Cleanup and Defragmentation
Over time, your hard drive can become cluttered with temporary files, unnecessary programs, and fragmented data. This can slow down your computer’s performance, including boot time.
Regularly cleaning up your disk and defragmenting your hard drive (if you’re still using an HDD) can help improve performance.
Disk Cleanup: Removing the Clutter
Windows has a built-in Disk Cleanup tool that can help you remove temporary files, cached data, and other unnecessary files from your hard drive. To access it, search for “Disk Cleanup” in the Start menu and select the drive you want to clean.
Be sure to check the boxes for “Temporary files,” “Recycle Bin,” and “Thumbnails” to remove as much unnecessary data as possible. I usually run Disk Cleanup every couple of weeks to keep my system running smoothly.
Defragmentation: Reorganizing Data
If you’re using a traditional HDD, defragmenting your hard drive can help improve performance by reorganizing fragmented data. Fragmentation occurs when files are split into multiple pieces and scattered across the hard drive.
Defragmenting the drive rearranges these pieces so that they are contiguous, allowing your computer to access them more quickly. Windows has a built-in defragmentation tool that you can access by searching for “Defragment and Optimize Drives” in the Start menu.
Note that you should *not* defragment an SSD, as it can actually reduce its lifespan.
The Power of a Fresh Start: Reinstalling Your Operating System
Sometimes, the best way to speed up your computer is to start fresh with a clean installation of your operating system. Over time, your system can become bogged down with accumulated software, drivers, and settings that can negatively impact performance.
A clean install removes all of this baggage and gives you a fresh, optimized system.
Backing Up Your Data: A Must-Do
Before you reinstall your operating system, it’s crucial to back up all of your important data, including documents, photos, music, and videos. You can use an external hard drive, cloud storage, or a combination of both.
I always recommend having multiple backups in case one fails.
Creating Installation Media
You’ll need to create installation media for your operating system. If you’re using Windows, you can download the Media Creation Tool from Microsoft’s website and use it to create a bootable USB drive or DVD.
Make sure you have your Windows product key handy, as you’ll need it to activate your installation.
Performing the Clean Installation
Boot your computer from the installation media and follow the on-screen instructions to install the operating system. Be sure to select the “Custom” installation option and format the drive where you want to install Windows.
This will erase all of the data on the drive, so make sure you’ve backed everything up! Once the installation is complete, you’ll need to reinstall your drivers, applications, and restore your data.
Managing Visual Effects: Prioritizing Performance
Windows offers a variety of visual effects that can enhance the user experience, but they can also consume system resources and slow down your computer, especially on older hardware.
Disabling or reducing these effects can free up resources and improve performance.
Accessing Performance Options
To access the performance options, search for “Adjust the appearance and performance of Windows” in the Start menu. This will open a window where you can customize the visual effects settings.
Customizing Visual Effects
You can choose from several options, including “Adjust for best appearance,” “Adjust for best performance,” and “Custom.” If you want to prioritize performance, select “Adjust for best performance.” This will disable all of the visual effects.
Alternatively, you can select “Custom” and manually disable the effects that you don’t need. I usually disable things like animations, shadows, and transparency effects to improve performance.
Analyzing Your Hardware: Identifying Bottlenecks
Sometimes, slow boot times are caused by hardware limitations. Identifying these bottlenecks can help you determine which components need to be upgraded to improve performance.
CPU Performance
The central processing unit (CPU) is the brain of your computer, and it plays a crucial role in boot time. A slow CPU can significantly impact performance.
RAM Capacity
Random access memory (RAM) is used to store data that the CPU needs to access quickly. Insufficient RAM can cause your computer to slow down, especially when running multiple applications.
Storage Speed
As mentioned earlier, the speed of your storage drive (HDD or SSD) can have a significant impact on boot time. Here’s a handy table summarizing the key points we’ve discussed:
| Optimization Technique | Description | Potential Impact |
|---|---|---|
| Startup Program Management | Disabling unnecessary programs that launch at startup. | Moderate |
| SSD Upgrade | Replacing a traditional HDD with a solid-state drive. | High |
| Disk Cleanup & Defragmentation | Removing temporary files and reorganizing data on the hard drive. | Low to Moderate |
| OS Reinstallation | Performing a clean installation of the operating system. | High |
| Visual Effects Management | Disabling or reducing visual effects to free up system resources. | Low to Moderate |
| Hardware Analysis | Identifying hardware bottlenecks and upgrading components. | Variable, depending on the upgrade |
By implementing these tips, you can significantly improve your computer’s boot time and enjoy a faster, more responsive computing experience. It might take a bit of experimenting to find the right combination of optimizations for your specific system, but the results will be well worth the effort.
Happy tweaking!
Wrapping Up
So, there you have it! A comprehensive guide to turbocharging your computer’s boot time. Remember, every computer is different, so experiment with these tips to find what works best for you. A little bit of tweaking can go a long way in making your daily computing experience much smoother and more enjoyable. Now go forth and conquer those slow boot times!
Useful Information to Know
1. Regular Malware Scans: Run antivirus software regularly. Malware can hog system resources and slow down boot times.
2. Update Drivers: Keep your device drivers updated, especially for your graphics card and chipset. Outdated drivers can cause performance issues.
3. Monitor Resource Usage: Use Task Manager (Windows) or Activity Monitor (macOS) to monitor CPU, memory, and disk usage. Identify any processes that are consuming excessive resources.
4. Check Event Viewer: Windows Event Viewer can provide valuable insights into system errors and warnings that may be contributing to slow boot times.
5. Consider a Lightweight OS: If you’re using an older computer, consider switching to a lightweight operating system like Linux Mint or Chrome OS to improve performance.
Key Takeaways
Optimizing your computer’s boot time involves a multi-pronged approach. Managing startup programs, upgrading to an SSD, keeping your system clean, and managing visual effects are all important steps. Don’t forget to analyze your hardware to identify potential bottlenecks and consider a fresh OS install for a truly optimized experience.
Frequently Asked Questions (FAQ) 📖
Q: My computer takes ages to start – like, seriously, I could make a whole cup of coffee before it’s ready. What’s the first thing I should check?
A: Okay, first off, I totally get the coffee-making frustration. Been there! The absolute first thing to peek at is what programs are set to launch automatically when your computer starts.
Think of it as a bunch of little workers all scrambling to clock in at the same time. Go into your Task Manager (Ctrl+Shift+Esc) and click the “Startup” tab.
Disable anything that you don’t absolutely need running the second you log in – things like iTunesHelper or some random updater tool. Trust me, that alone can make a HUGE difference.
I cut my boot time in half doing that once.
Q: I’ve heard about SSDs making a computer faster. Is it worth upgrading to one just for faster boot times?
A: Oh man, upgrading to an SSD (Solid State Drive) is, hands down, one of the best things you can do for overall computer performance, especially boot times.
Think of it like this: your old hard drive is like a vinyl record player, having to physically move a needle to find the right data. An SSD, on the other hand, is like a flash drive – instant access!
It’s a game-changer. Yes, it’s an investment, but you’ll see a speed boost in everything, not just booting. Programs will load faster, files will transfer quicker – it’s like giving your computer a shot of espresso.
Absolutely worth it, in my opinion.
Q: I already cleaned up my startup programs and defragged my hard drive (it’s not an SSD). Is there anything else I can do without spending money?
A: Alright, if you’ve already tackled the startup programs and defragged, good on ya! Next, try running a disk cleanup. Just type “Disk Cleanup” in the Windows search bar and let it scan for temporary files, cache, and other junk that’s cluttering up your system.
Clearing that out can free up some space and give your computer a bit more breathing room. Also, make sure your operating system and drivers are up-to-date.
Outdated software can sometimes cause delays. And finally, give your computer a good ol’ fashioned restart every now and then. Sometimes just clearing out the RAM and restarting processes can work wonders.
It’s like giving your machine a little digital nap.
📚 References
Wikipedia Encyclopedia
구글 검색 결과
구글 검색 결과
구글 검색 결과
구글 검색 결과
구글 검색 결과
