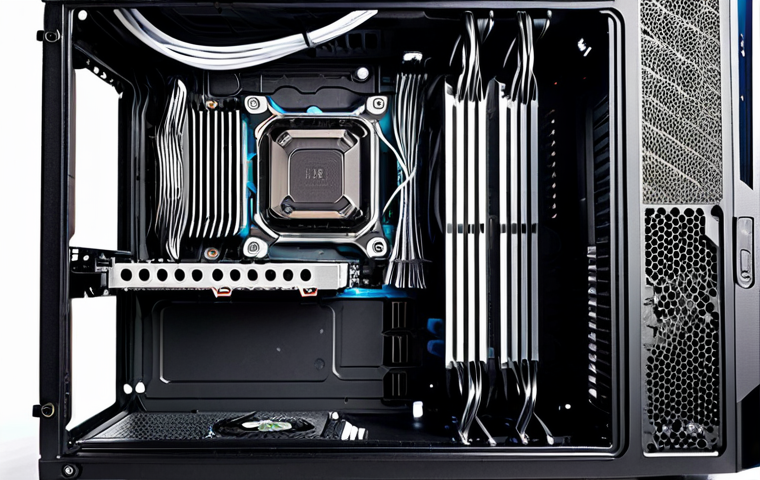
Ever noticed your gaming rig sounding like a jet engine taking off? Yeah, that’s usually your graphics card screaming about the heat. Keeping your GPU cool isn’t just about silencing the noise; it’s crucial for performance and extending the life of that expensive piece of hardware.
Overheating can lead to annoying crashes, stuttering gameplay, and even permanent damage. I’ve been there, done that, and learned the hard way! So, let’s dive into some practical tips and tricks I’ve picked up over the years to keep those temps under control.
Let’s investigate in detail in the article below.
Alright, let’s get this GPU cooled down!
Optimizing Your Case Airflow: The Wind Tunnel Effect
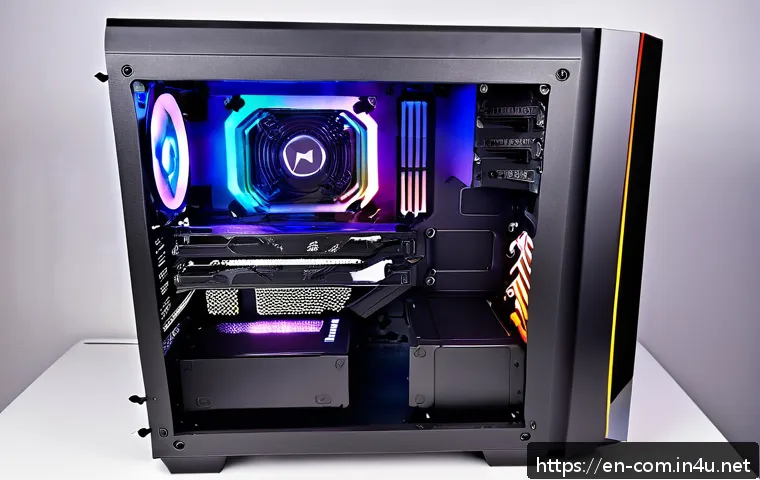
Having a case that looks cool is great, but if it’s not breathing properly, your components are going to suffer. Think of your case as a tiny wind tunnel.
You want cool air coming in and hot air efficiently exiting. I’ve seen so many builds where people slap in a bunch of fans without thinking about the direction of airflow.
It’s like trying to cool your house by opening all the windows and hoping for the best.
Front Intake, Rear Exhaust: The Classic Setup
This is the golden rule for a reason. Front fans pull cool air in, while rear fans exhaust the hot air. Simple, effective, and works in most setups.
I once helped a friend who was convinced his new case was faulty because his GPU was always overheating. Turns out, all his fans were set to intake! Flipping the rear fan around dropped his temps by a solid 10 degrees Celsius.
Top Exhaust: Letting Hot Air Rise
Since heat rises, top-mounted fans configured as exhaust can be a game-changer. This is especially true if you have a high-end GPU that pumps out a ton of heat.
Just make sure you have enough intake fans to compensate, or you’ll end up creating negative pressure inside your case, which can lead to dust buildup.
Speaking of dust…
Cable Management: Don’t Block the Breeze
* Tidy cables not only make your build look cleaner, but they also improve airflow. A rat’s nest of cables can block fans and disrupt the smooth flow of air through your case.
Take the time to route cables behind the motherboard tray and use zip ties to keep them organized. It’s a small effort that can make a big difference.
Fine-Tuning Fan Curves: A Symphony of Cooling
Stock fan curves are often designed to be quiet rather than effective. This means your fans might not be spinning fast enough to keep your GPU cool under load.
Fortunately, most graphics card manufacturers provide software that allows you to customize fan curves to your liking.
Understanding Fan Curves: The Temperature-Speed Relationship
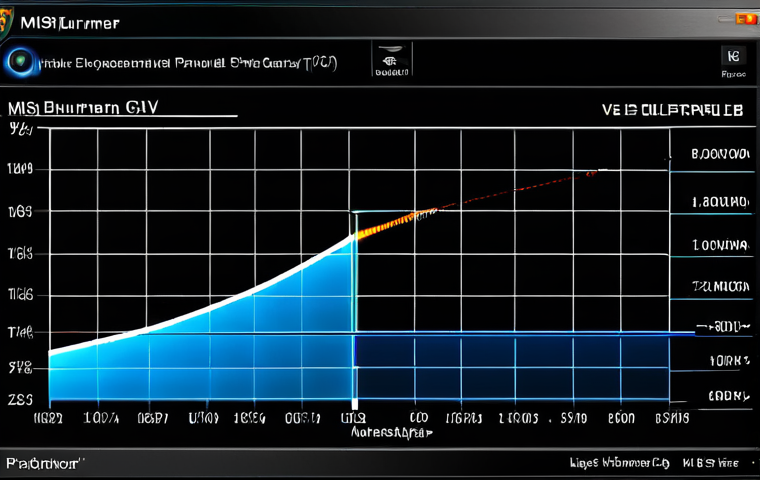
A fan curve is simply a graph that maps the GPU temperature to the fan speed. You can adjust this curve to tell your fans to spin faster at specific temperatures.
For example, you might set the fans to spin at 50% speed when the GPU hits 60 degrees Celsius and ramp up to 100% at 80 degrees Celsius. It’s all about finding the sweet spot between cooling performance and noise levels.
Experimenting with Aggressive Curves: Balancing Noise and Performance
Don’t be afraid to experiment with different fan curves to see what works best for your setup. I personally prefer a slightly more aggressive curve that keeps my GPU temperatures consistently low, even if it means a bit more noise.
But if you prioritize silence, you can opt for a more gradual curve that only ramps up the fans when absolutely necessary.
Monitoring and Adjusting: The Ongoing Process
Keeping an eye on your GPU temperatures and fan speeds is crucial for fine-tuning your fan curves. Use monitoring software like MSI Afterburner or HWMonitor to track your temps while gaming or running benchmarks.
If you notice your GPU consistently hitting high temperatures, you might need to adjust your fan curve accordingly.
Undervolting Your GPU: Less Power, Less Heat
Undervolting is the art of reducing the voltage supplied to your GPU without sacrificing performance. This can result in significantly lower temperatures and power consumption, especially on high-end cards.
It might sound intimidating, but it’s actually quite safe and easy to do with the right tools.
The Benefits of Undervolting: Coolness and Efficiency
Undervolting offers a win-win situation: lower temperatures and reduced power consumption. This translates to less heat in your case, quieter fans, and potentially even a slight performance boost, as your GPU can sustain its boost clock for longer periods without overheating.
Using MSI Afterburner: A Simple Undervolting Guide
MSI Afterburner is the go-to tool for undervolting GPUs. It allows you to adjust the voltage-frequency curve of your card, reducing the voltage at each frequency point.
There are tons of great tutorials online that walk you through the process step-by-step. Just be sure to proceed with caution and test your settings thoroughly to ensure stability.
I was able to undervolt my RTX 3080 and dropped the temperature by 7 degrees.
Stress Testing for Stability: Ensuring a Smooth Ride
After undervolting, it’s essential to stress test your GPU to ensure it remains stable. Run demanding benchmarks like FurMark or Unigine Heaven for several hours to check for crashes or artifacts.
If you encounter any issues, simply increase the voltage slightly until the card becomes stable.
Repasting Your GPU: A Thermal Refresh
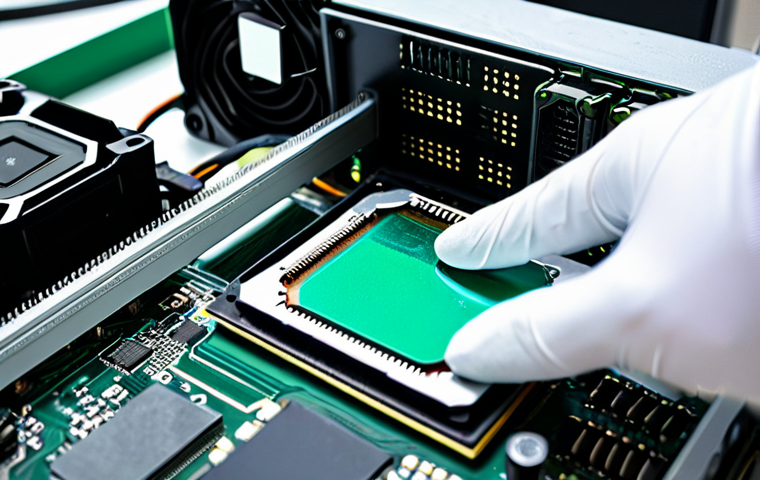
Over time, the thermal paste between your GPU die and the heatsink can dry out, reducing its ability to transfer heat. Repasting your GPU involves removing the old thermal paste and applying a fresh layer.
This can significantly improve cooling performance, especially on older cards.
When to Repaste: Signs of Thermal Degradation
If you notice your GPU temperatures creeping up over time, even after cleaning the cooler and optimizing your fan curves, it might be time to repaste.
Other signs include increased fan noise and a noticeable drop in performance.
Choosing the Right Thermal Paste: A Matter of Conductivity
There are countless thermal pastes on the market, each with its own thermal conductivity rating. Look for a high-quality paste from a reputable brand like Arctic, Noctua, or Thermal Grizzly.
These pastes offer excellent thermal transfer and are designed to last for years.
The Repasting Process: A Delicate Operation
Repasting your GPU is a delicate operation that requires some technical skill. Be sure to watch a few tutorials before attempting it yourself. The key is to apply a thin, even layer of thermal paste to the GPU die and then carefully reattach the cooler.
| Method | Pros | Cons | Difficulty | Cost |
|---|---|---|---|---|
| Optimizing Case Airflow | Easy, improves overall cooling | May require additional fans | Easy | $0 – $50 |
| Fine-Tuning Fan Curves | Free, customizable cooling | Can be noisy, requires monitoring | Medium | $0 |
| Undervolting GPU | Reduces heat and power consumption | Requires testing, potential instability | Medium | $0 |
| Repasting GPU | Improves thermal transfer | Requires disassembly, risk of damage | Hard | $10 – $30 |
| Upgrading Cooler | Significant cooling improvement | Expensive, may not fit in all cases | Medium | $50 – $200+ |
Upgrading Your GPU Cooler: Extreme Cooling Solutions
If you’ve tried everything else and your GPU is still running too hot, it might be time to upgrade to a more powerful cooler. There are two main types of GPU coolers: air coolers and liquid coolers.
Air coolers are generally more affordable and easier to install, while liquid coolers offer superior cooling performance.
Air Coolers: A Bigger Heatsink for Better Cooling
Aftermarket air coolers for GPUs are essentially larger, more efficient versions of the stock cooler. They feature larger heatsinks and more powerful fans, allowing them to dissipate heat more effectively.
Some popular brands include Arctic, Noctua, and Raijintek.
Liquid Coolers: The Ultimate in Cooling Performance
Liquid coolers use a closed-loop system to circulate coolant through a water block that sits on top of the GPU. This allows them to transfer heat away from the GPU much more efficiently than air coolers.
Liquid coolers are generally more expensive and require more complex installation, but they offer the best possible cooling performance.
AIO vs. Custom Loops: Choosing the Right Liquid Cooling Solution
There are two main types of liquid coolers: all-in-one (AIO) coolers and custom loops. AIO coolers are pre-assembled and require no maintenance, making them a great option for beginners.
Custom loops, on the other hand, allow you to customize every aspect of the cooling system, but they require more expertise and maintenance.
Monitoring Software and Tools: Keeping a Close Eye on Temps
Keeping an eye on your GPU temperatures is crucial for ensuring optimal performance and preventing damage. There are several excellent monitoring software tools available that allow you to track your GPU temps in real-time.
MSI Afterburner: The All-in-One Solution
MSI Afterburner is a versatile tool that not only allows you to monitor your GPU temperatures but also to overclock, undervolt, and customize fan curves.
It’s a must-have for any PC gamer or enthusiast.
HWMonitor: A Simple and Effective Monitor
HWMonitor is a lightweight and easy-to-use monitoring tool that displays a wide range of system information, including GPU temperatures, CPU temperatures, fan speeds, and voltages.
Rivatuner Statistics Server (RTSS): In-Game Overlays
RTSS is a companion application to MSI Afterburner that allows you to display real-time system information in-game. This is a great way to monitor your GPU temperatures without having to alt-tab out of your game.
Cleaning and Maintenance: Keeping Dust at Bay
Dust is the enemy of cooling. It can accumulate on your GPU cooler and fans, reducing their ability to dissipate heat. Regular cleaning is essential for maintaining optimal cooling performance.
Compressed Air: Your Best Friend
A can of compressed air is your best friend when it comes to cleaning your GPU cooler. Use it to blow out any dust that has accumulated on the heatsink and fans.
Be sure to hold the can upright to prevent liquid propellant from spraying onto your components.
Soft Brush: For Stubborn Dust
For stubborn dust that won’t come off with compressed air alone, use a soft brush to gently scrub the cooler and fans. Be careful not to damage any of the delicate fins on the heatsink.
Regular Cleaning Schedule: Prevention is Key
Ideally, you should clean your GPU cooler every few months to prevent dust from building up. This will help keep your GPU running cool and quiet for years to come.
Optimizing your GPU’s cooling isn’t just about squeezing out a few more frames per second. It’s about extending the lifespan of your hardware, ensuring a stable gaming experience, and keeping your rig running smoothly for years to come.
Hopefully, these tips have given you a solid foundation for tackling those thermal challenges.
Wrapping Up
So, there you have it! From simple tweaks like airflow optimization to more involved solutions like repasting, there are plenty of ways to keep your GPU running cool. Experiment, monitor your temps, and find the approach that works best for your setup. Remember, a cool GPU is a happy GPU!
Now go forth and conquer those thermals! Game on!
Good to Know Info
1. Always unplug your PC and ground yourself before working inside the case to prevent static discharge.
2. Invest in a good-quality screwdriver set with magnetic tips to avoid dropping screws inside your PC.
3. When applying thermal paste, less is more. A pea-sized amount is usually sufficient.
4. Keep your case in a well-ventilated area and away from direct sunlight.
5. Regularly check your PSU to make sure it’s working well.
Key Takeaways
Prioritize Airflow: Ensure cool air is entering your case and hot air is being exhausted efficiently.
Fan Curves are Your Friend: Customize your fan curves to optimize cooling performance and noise levels.
Consider Undervolting: Reduce your GPU’s voltage to lower temperatures and power consumption.
Don’t Neglect Maintenance: Clean your cooler regularly to prevent dust buildup.
Monitor Your Temps: Keep a close eye on your GPU temperatures to ensure optimal performance and prevent damage.
Frequently Asked Questions (FAQ) 📖
Q: How often should I clean the dust out of my PC to keep my GPU cool?
A: Okay, so imagine not cleaning your apartment for, like, ever. Dust bunnies EVERYWHERE, right? Your PC is kinda the same.
Dust acts like a blanket, trapping heat. Ideally, give your PC a good cleaning every 3-6 months. If you’ve got pets or live in a dusty area, bump that up to every couple of months.
I use a can of compressed air (hold it upright!) and gently blow out all the dust bunnies. Seriously, you’ll be amazed at what comes out. Remember to power down and unplug EVERYTHING first!
Q: What’s the deal with undervolting? I’ve heard it can help with GPU temps, but it sounds kinda scary.
A: Undervolting is like teaching your GPU to be more efficient. Basically, you’re telling it, “Hey, you don’t need that much voltage to run at the same speed!” It’s a bit technical, and yes, you could potentially mess things up if you go too far.
But honestly, it’s pretty safe if you take it slow and do your research. There are tons of guides and videos online (check out YouTube!). Basically, you lower the voltage in small increments and test for stability.
If you crash, you bump it back up a little. It can significantly reduce temps without sacrificing performance. I’ve undervolted my last two GPUs and seen a noticeable difference.
Think of it as giving your GPU a fuel-efficient engine tune-up.
Q: Besides cleaning and undervolting, are there any other ways to improve my GPU’s cooling?
A: Absolutely! Think about airflow. Is your case getting enough fresh air in and hot air out?
Make sure your case fans are set up correctly (front fans pulling air in, rear and top fans pushing air out). Also, consider upgrading your CPU cooler.
Even though it’s not directly cooling your GPU, a cooler CPU means less heat inside the case overall. Finally, if you’re feeling adventurous, you could look into aftermarket GPU coolers or even water cooling.
But those are definitely more advanced options and might void your warranty, so do your homework first! I switched to a better case with improved airflow, and it made a bigger difference than I expected.
📚 References
Wikipedia Encyclopedia
구글 검색 결과
구글 검색 결과
구글 검색 결과
구글 검색 결과
구글 검색 결과